

Guide
How to digitize old photos, the best way
Scanner vs. phone, the settings that matter, and how to digitize a whole box of prints without losing a weekend.
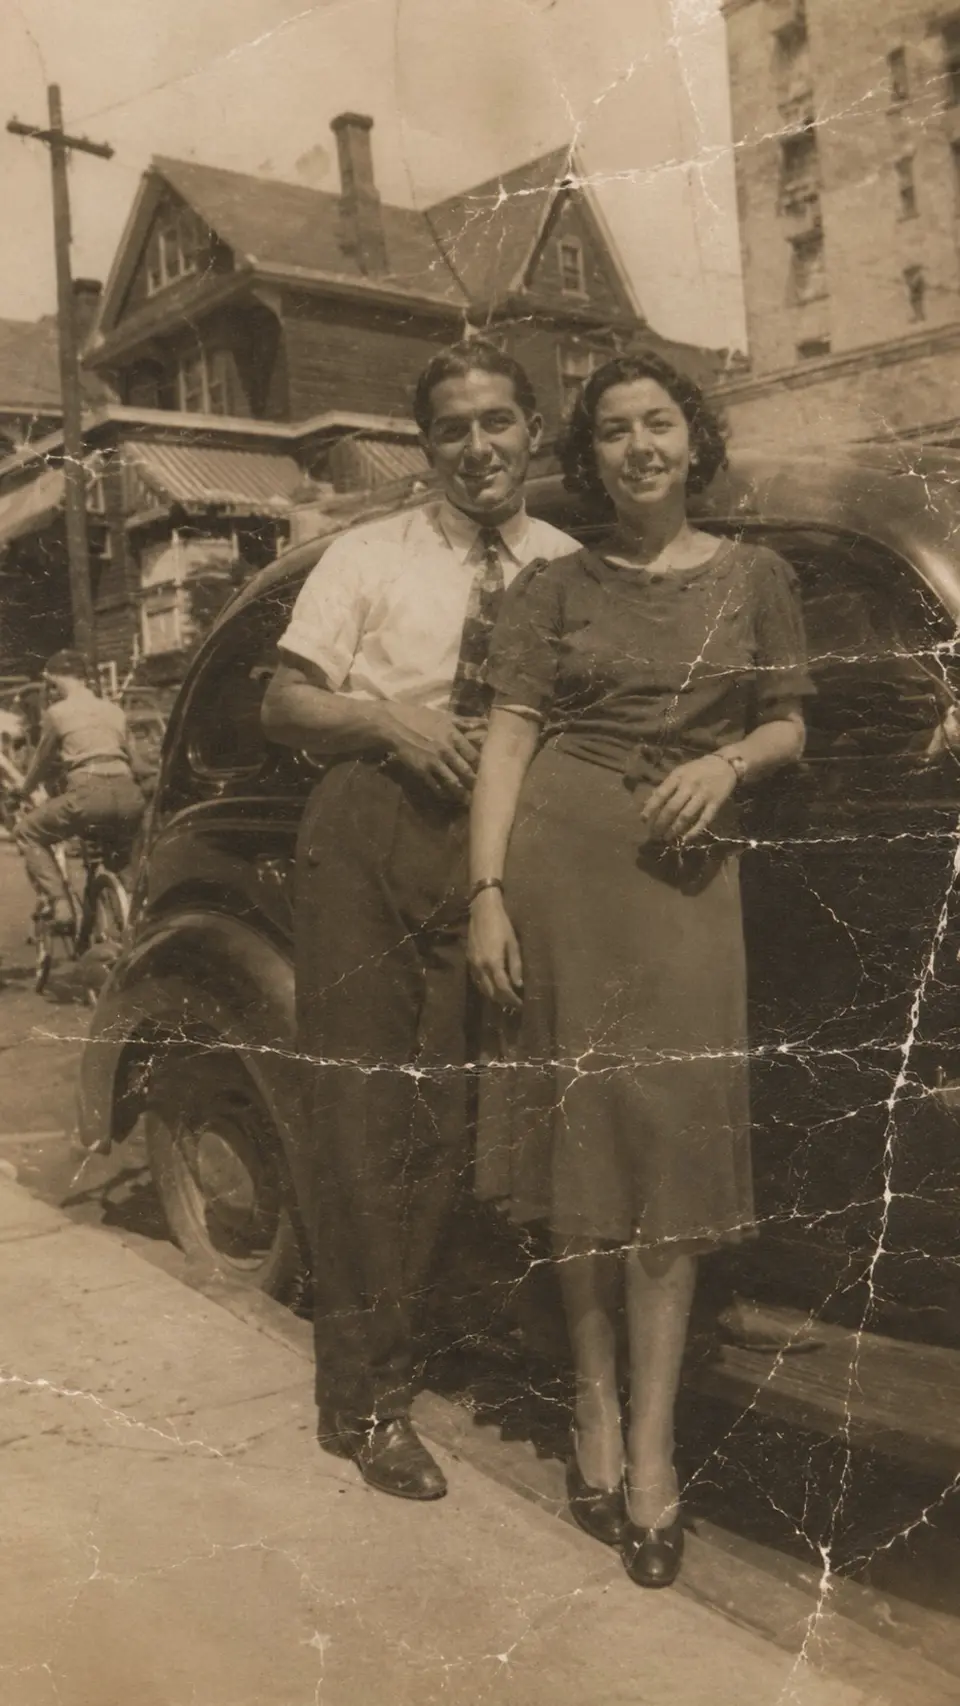
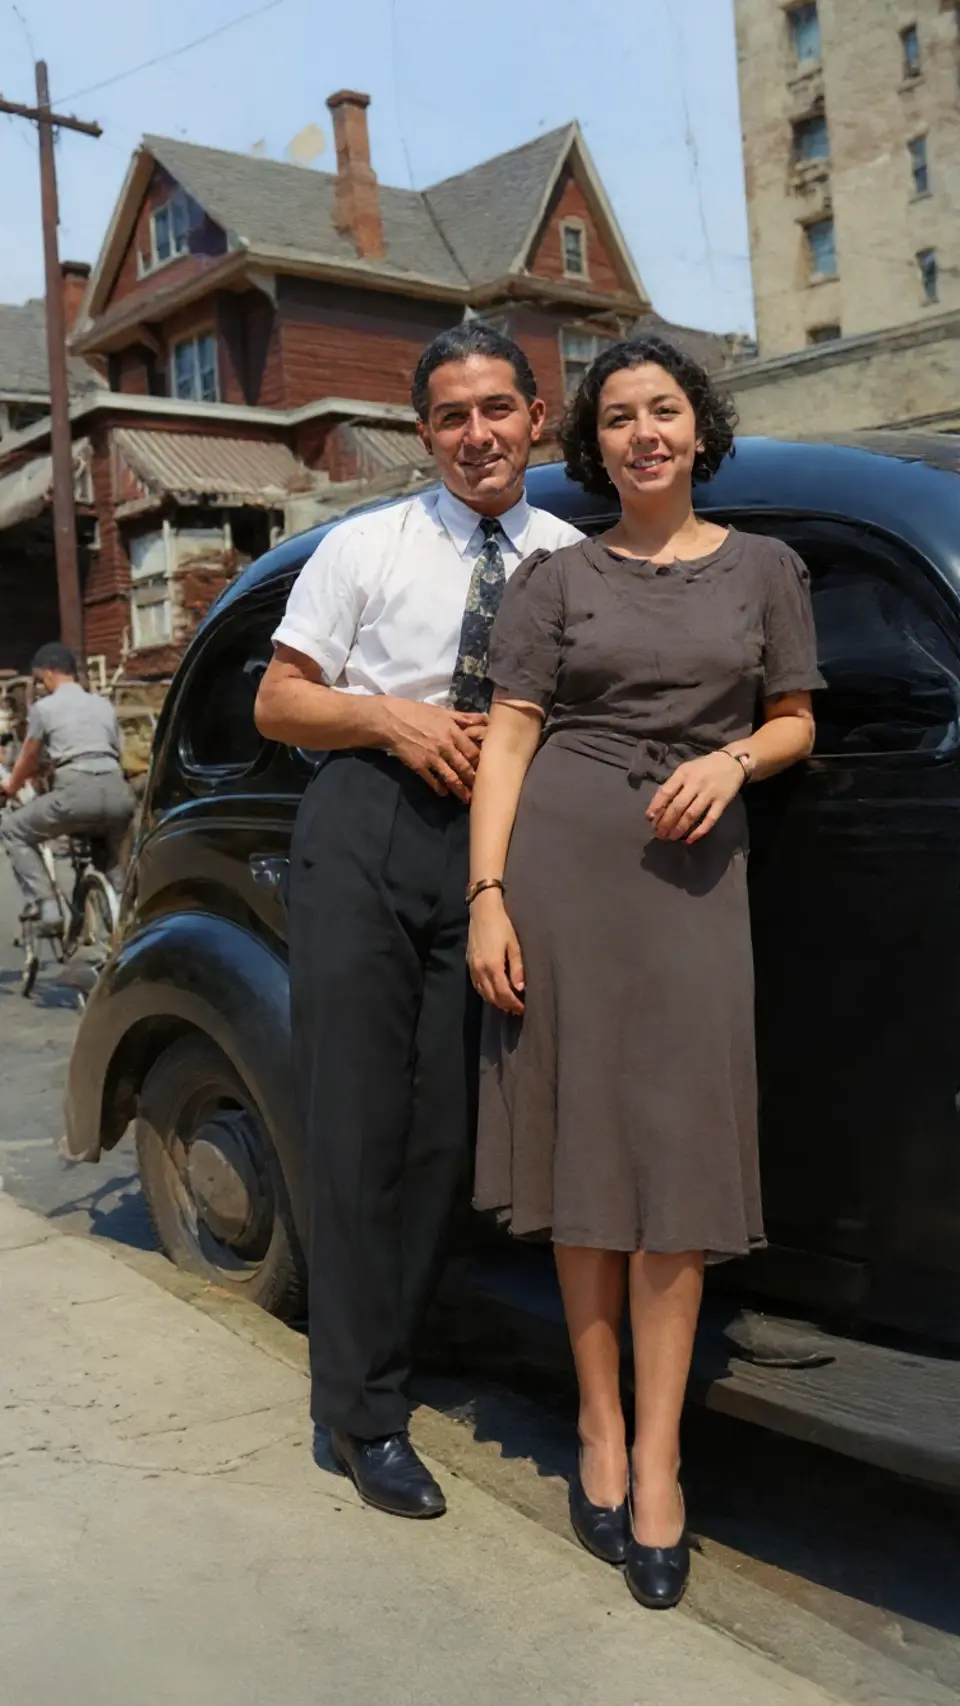
Drag to compare — a real Reviva restore
There's a right way to digitize prints that balances quality and sanity. Here's how to get clean copies fast — and what to do with them next.
Phone vs. flatbed scanner
A flatbed scanner gives the best quality for framed keepers. For a whole box, a phone photo in even light is dramatically faster and perfectly good for restoration and backup.
The settings that matter
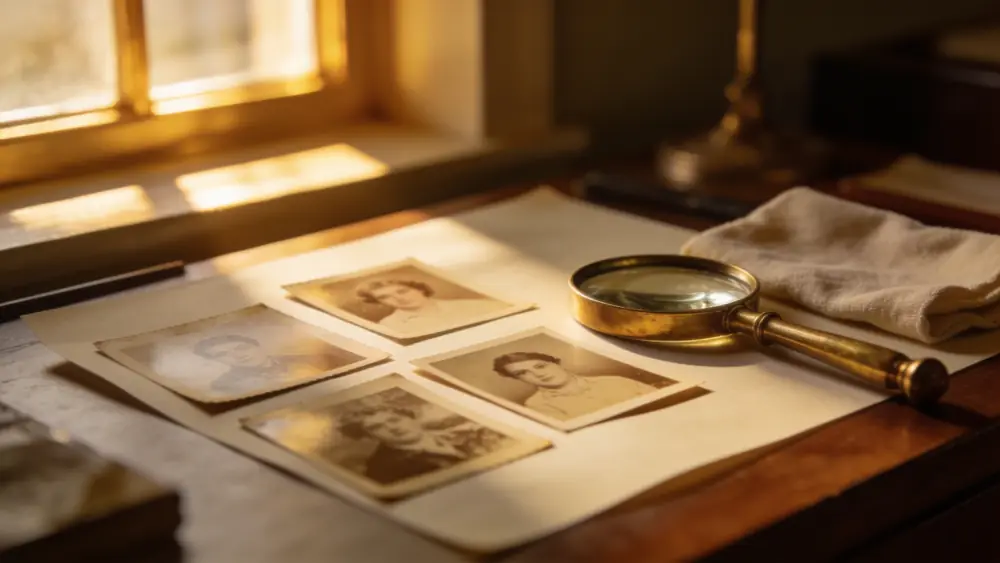
If scanning, use at least 600 DPI for standard prints (higher for small ones you'll enlarge). If shooting with a phone, use soft even light, avoid glare, and fill the frame straight-on.
Batch smart
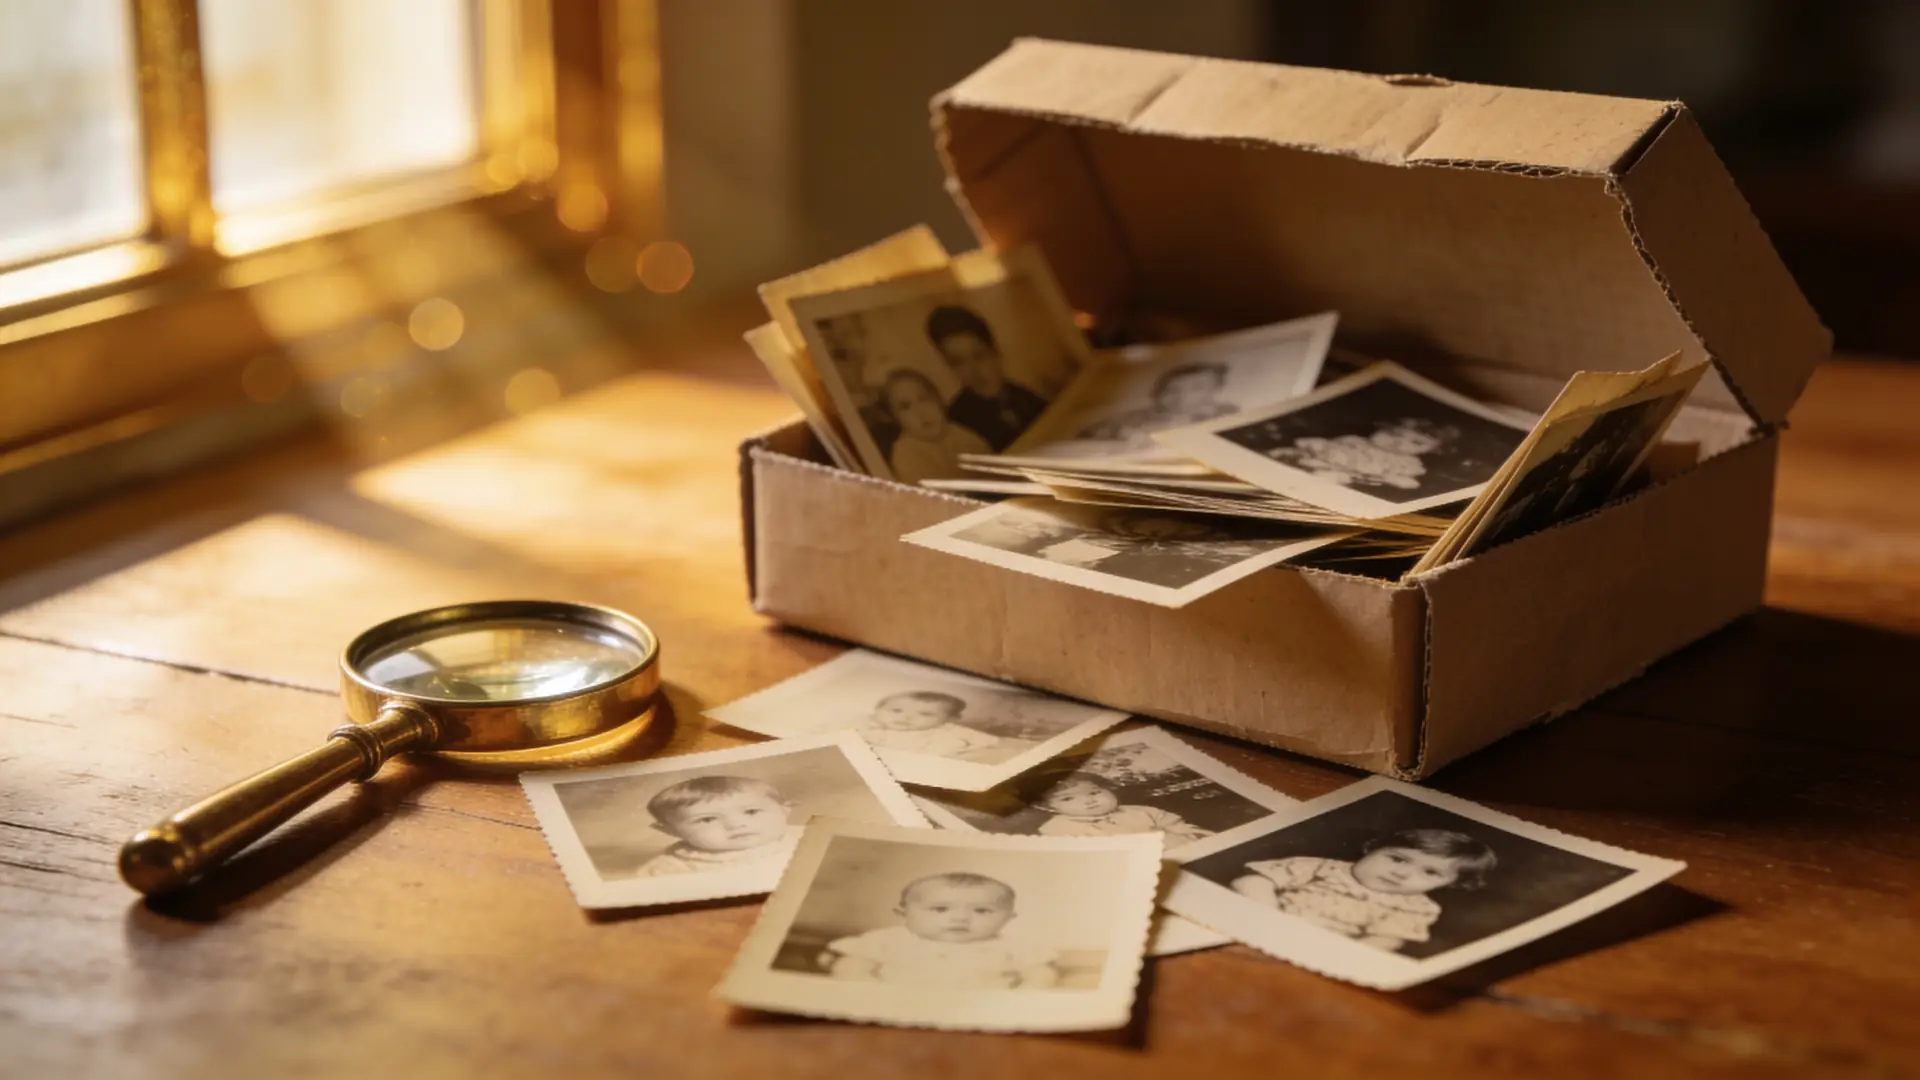
Do it in passes: capture everything first, then restore and organize. Trying to perfect each photo as you go is how a box becomes a two-year project.
How it works
From your camera roll to restored in seconds
-
Step 01
Set up even lighting
A shaded window or two lamps at 45°, no direct glare.
-
Step 02
Capture straight-on
Fill the frame, keep the print flat and parallel to the camera.
-
Step 03
Restore the digital copies
Run each through Reviva to repair, colorize, and sharpen.
-
Step 04
Back up in two places
Save to cloud and a local drive.
Ready to see your photo restored?
Free to try — your first restore takes seconds.
Frequently asked
Is a phone good enough to scan old photos?
Yes, for most family archives. In even light with a straight-on shot, a modern phone captures more than enough detail for restoration and backup.
What DPI should I scan old photos at?
600 DPI is a good baseline for standard prints; go higher for small photos you plan to enlarge.
Keep exploring
More ways to bring your photos back
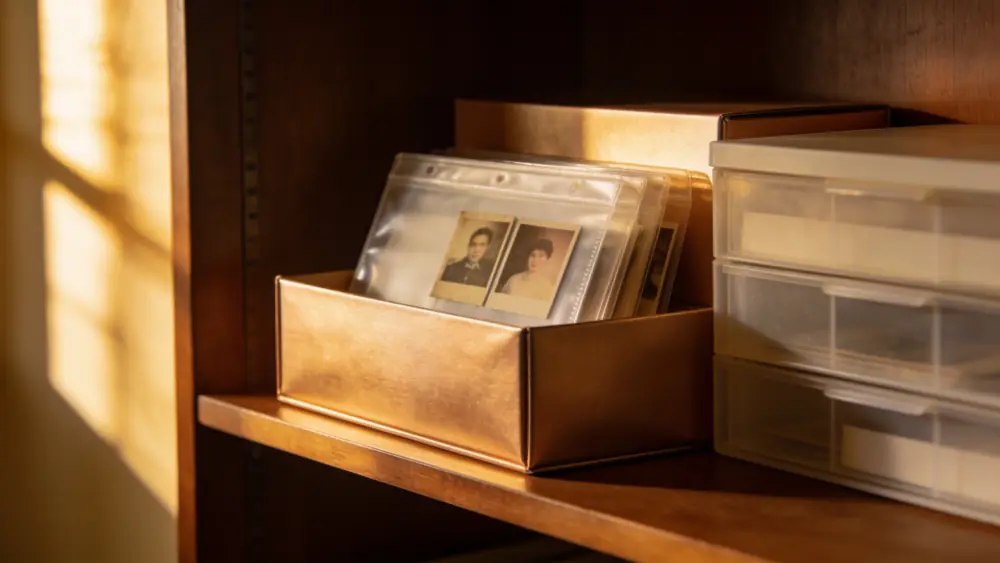
Restore as you digitize
Turn a box of prints into a clean, restored digital archive.